
When I first learned how to make a picture pendant, I was thrilled to discover a beautiful way to keep my most treasured memories close to my heart.
Creating a personalized locket that showcases a beloved photo, a special moment, or a meaningful image has become one of my favorite DIY projects. The process is fun, and rewarding, and allows me to craft stunning pieces that perfectly capture my cherished memories.
I’m excited to share my experience and walk you through the steps, so you too can create a picture pendant that you’ll treasure for years to come.
Gather the Necessary Materials
Before you start learning how to make a picture pendant, you’ll need to gather the following supplies:
- A Photo or Printed Image (laser print on matte cardstock works best)
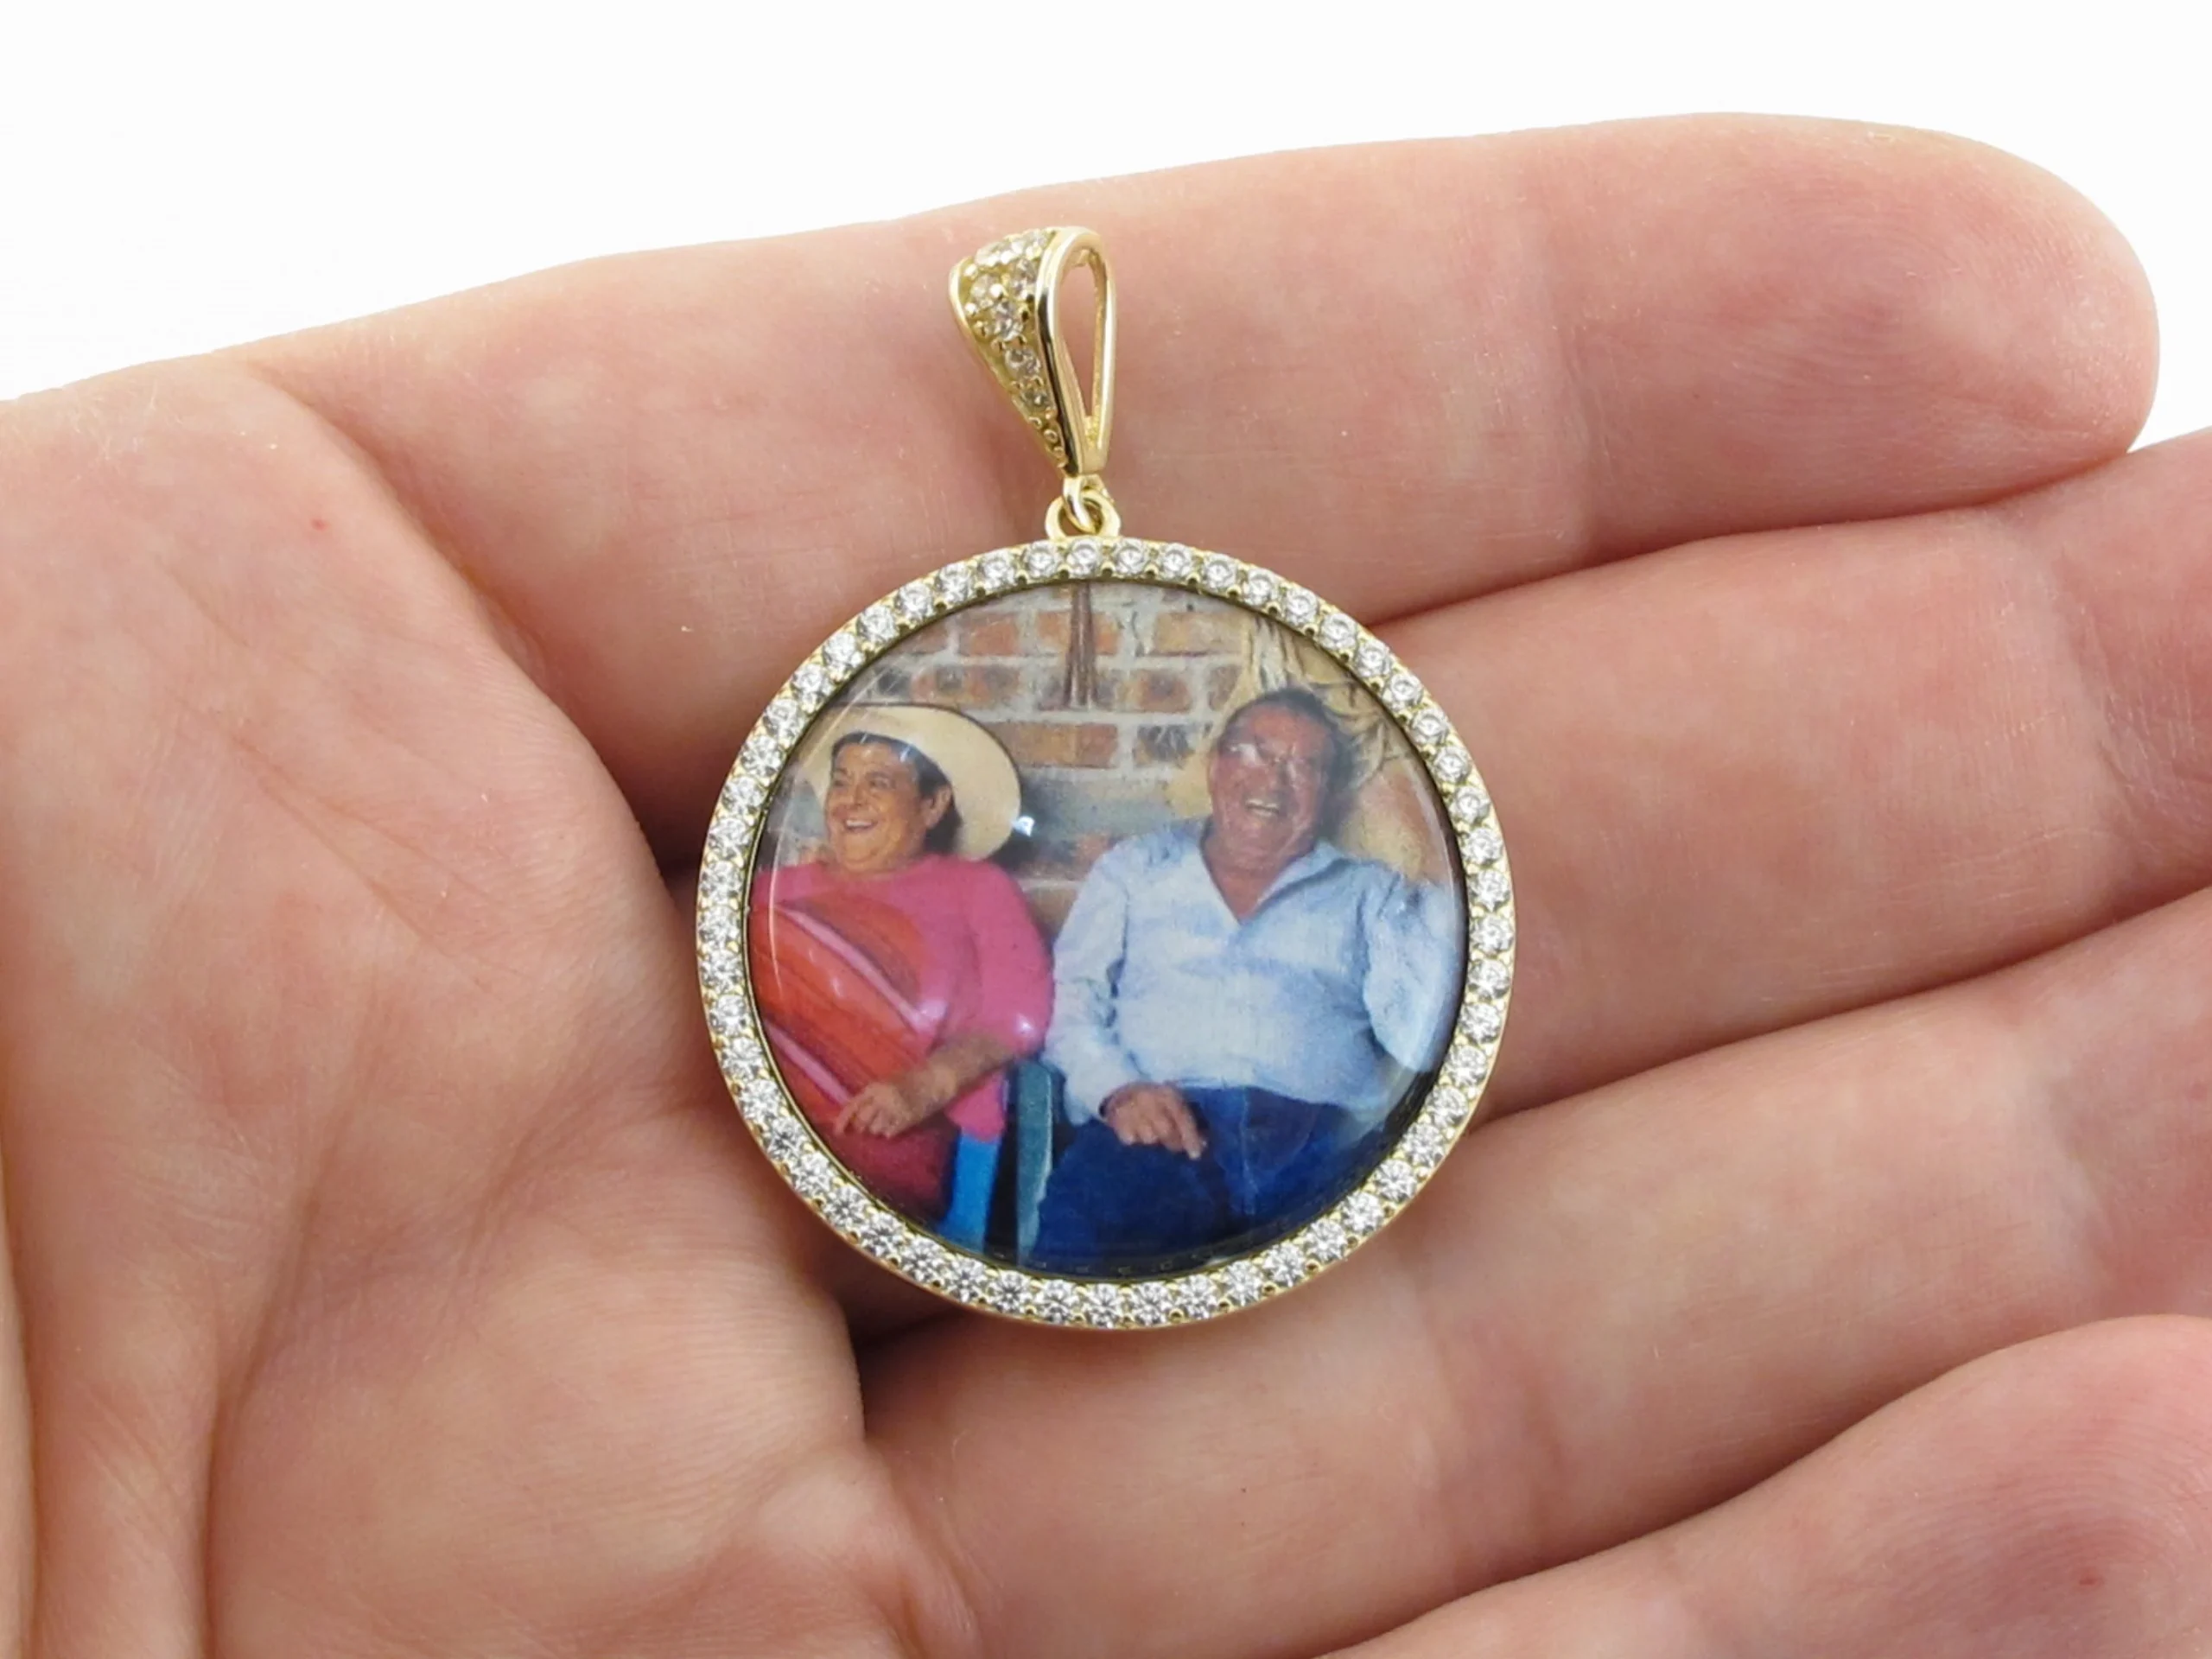
- A Glass Cabochon (a clear, flat-backed glass gem)
- A Pendant Tray (metal backing with bail, sized to fit the cabochon)
- Diamond Glaze Adhesive or Mod Podge
- Scissors or a Precision Knife and Cutting Mat
- A Toothpick or Small Brush Applicator
- A Soft Cloth
- A Chain or Cord for Wearing the Finished Pendant
When choosing your image, select a clear, high-contrast photo or design that will fit nicely within the size of your cabochon.
Take inspiration from popular trends like picture pendants with wings. These lockets showcase a cherished image while incorporating a symbolic element that resonates with many wearers. They can represent freedom, hope, or even a spiritual connection
Prepare Your Image for the Pendant
The first step in understanding how to make a picture pendant is to size and trim your image to fit the pendant tray and cabochon.
There are a few different methods you can use:
- Place the cabochon over your printed image, trace around it with a marker, and carefully cut out the shape with scissors or a precision knife.
- Scan and resize the image digitally using photo editing software, then print it to the exact size needed. Cut out the image precisely using scissors or a cutting machine.
- Use a stencil or die-cut machine to cut the image to the proper pendant size and shape.
Aim to cut the image slightly smaller than the cabochon so that the edges will be fully sealed when you adhere it to the pendant tray. Once your image is trimmed to size, you’re ready to move on to the next step in how to make a picture pendant.
Adhere the Image to the Pendant Tray
Now, it’s time to glue the image into the pendant tray using Diamond Glaze adhesive or Mod Podge. Follow these steps:
- Place the trimmed image face up into the tray, ensuring it’s centered and straight.
- Apply a generous layer of adhesive over the image with a toothpick or small brush. Gently spread it to evenly coat the entire surface, but be careful not to oversaturate the image.
- Carefully press the image down into the tray, smoothing out any wrinkles or air bubbles with your finger or a small tool. Work from the center outwards for a smooth, even application.
- Wipe away any excess adhesive from the edges of the tray with a slightly damp cloth before it dries.
- Allow the adhesive to dry completely. Diamond Glaze will be touch-dry within an hour but requires a full 24 hours to cure completely. Mod Podge dries more quickly but still needs several hours to fully set.
If any edges have lifted during the drying process, carefully apply a bit more adhesive underneath to lay them flat.
Apply the Glass Cabochon
With your image glued in place, it’s time to apply the glass cabochon to create a smooth, clear, and slightly domed surface that will protect and enhance your locket’s design. Here’s how:
- Ensure your work area is clean and dust-free to avoid trapping debris under the glass.
- Apply a generous amount of Diamond Glaze or Mod Podge to the flat side of the cabochon, covering the entire surface evenly.
- Carefully lower the cabochon onto the image inside the tray, starting at one edge and laying it down slowly to push out any air bubbles. Press it firmly into place.
- Hold the cabochon down and use your fingers to gently press out any remaining air bubbles through the sides. Wipe away any displaced adhesive with a damp cloth before it dries.
- Allow the pendant to dry undisturbed for at least 24 hours so that the adhesive can fully cure and form a strong bond between the layers. Place it in a dust-free area during this time to ensure a clear, smooth finish.
After a full day of curing, your picture pendant is nearly complete! The glass cabochon should be securely adhered to the image and tray, creating a crystal-clear, seamless surface.
Add the Finishing Touches
To complete your picture pendant or locket, consider these optional finishing touches:
- Use a soft cloth to gently buff the surface of the cabochon to a high shine, being careful not to scratch or scuff the glass.
- Apply a coat of clear acrylic sealant over the back and sides of the pendant for added protection against moisture and wear. Let it dry completely before handling further.
- Use pliers to attach a jump ring to the pendant tray’s bail loop, then thread your chosen chain or cord through the jump ring.
- For a creative twist, glue small rhinestones, charms, or found objects around the edges of the pendant tray to frame your image and add visual interest.
Once you’ve added the chain and any desired embellishments, your picture pendant is finished and ready to wear or give as a heartfelt gift!
Conclusion
Creating your own picture pendant is a wonderful way to keep your most cherished memories close to your heart. By following this step-by-step guide on how to make a picture pendant, you can craft a beautiful, personalized locket that showcases your favorite images.
Remember to take your time, work in a clean area, and allow ample drying time between steps for the best results. With a little practice and creativity, you’ll be making stunning picture pendants that you can wear or give as heartfelt gifts. Happy crafting!